

What makes a 3D character rig truly ready for a game build?
What should a studio ask for when it needs a 3D character rig that works in a real game build? The answer is more specific than “add bones and controls.” A useful rig supports the character’s movement, preserves the visual design, accepts the planned animation workflow, and arrives with files the team can maintain.
This guide turns 3D character rigging into a practical production brief. It covers skeleton decisions, skinning, motion capture compatibility, engine validation, and the acceptance checklist to use with an internal team or external partner. The goal is a character that animators can work with and technical artists can ship.
Define the game-ready rig before production starts
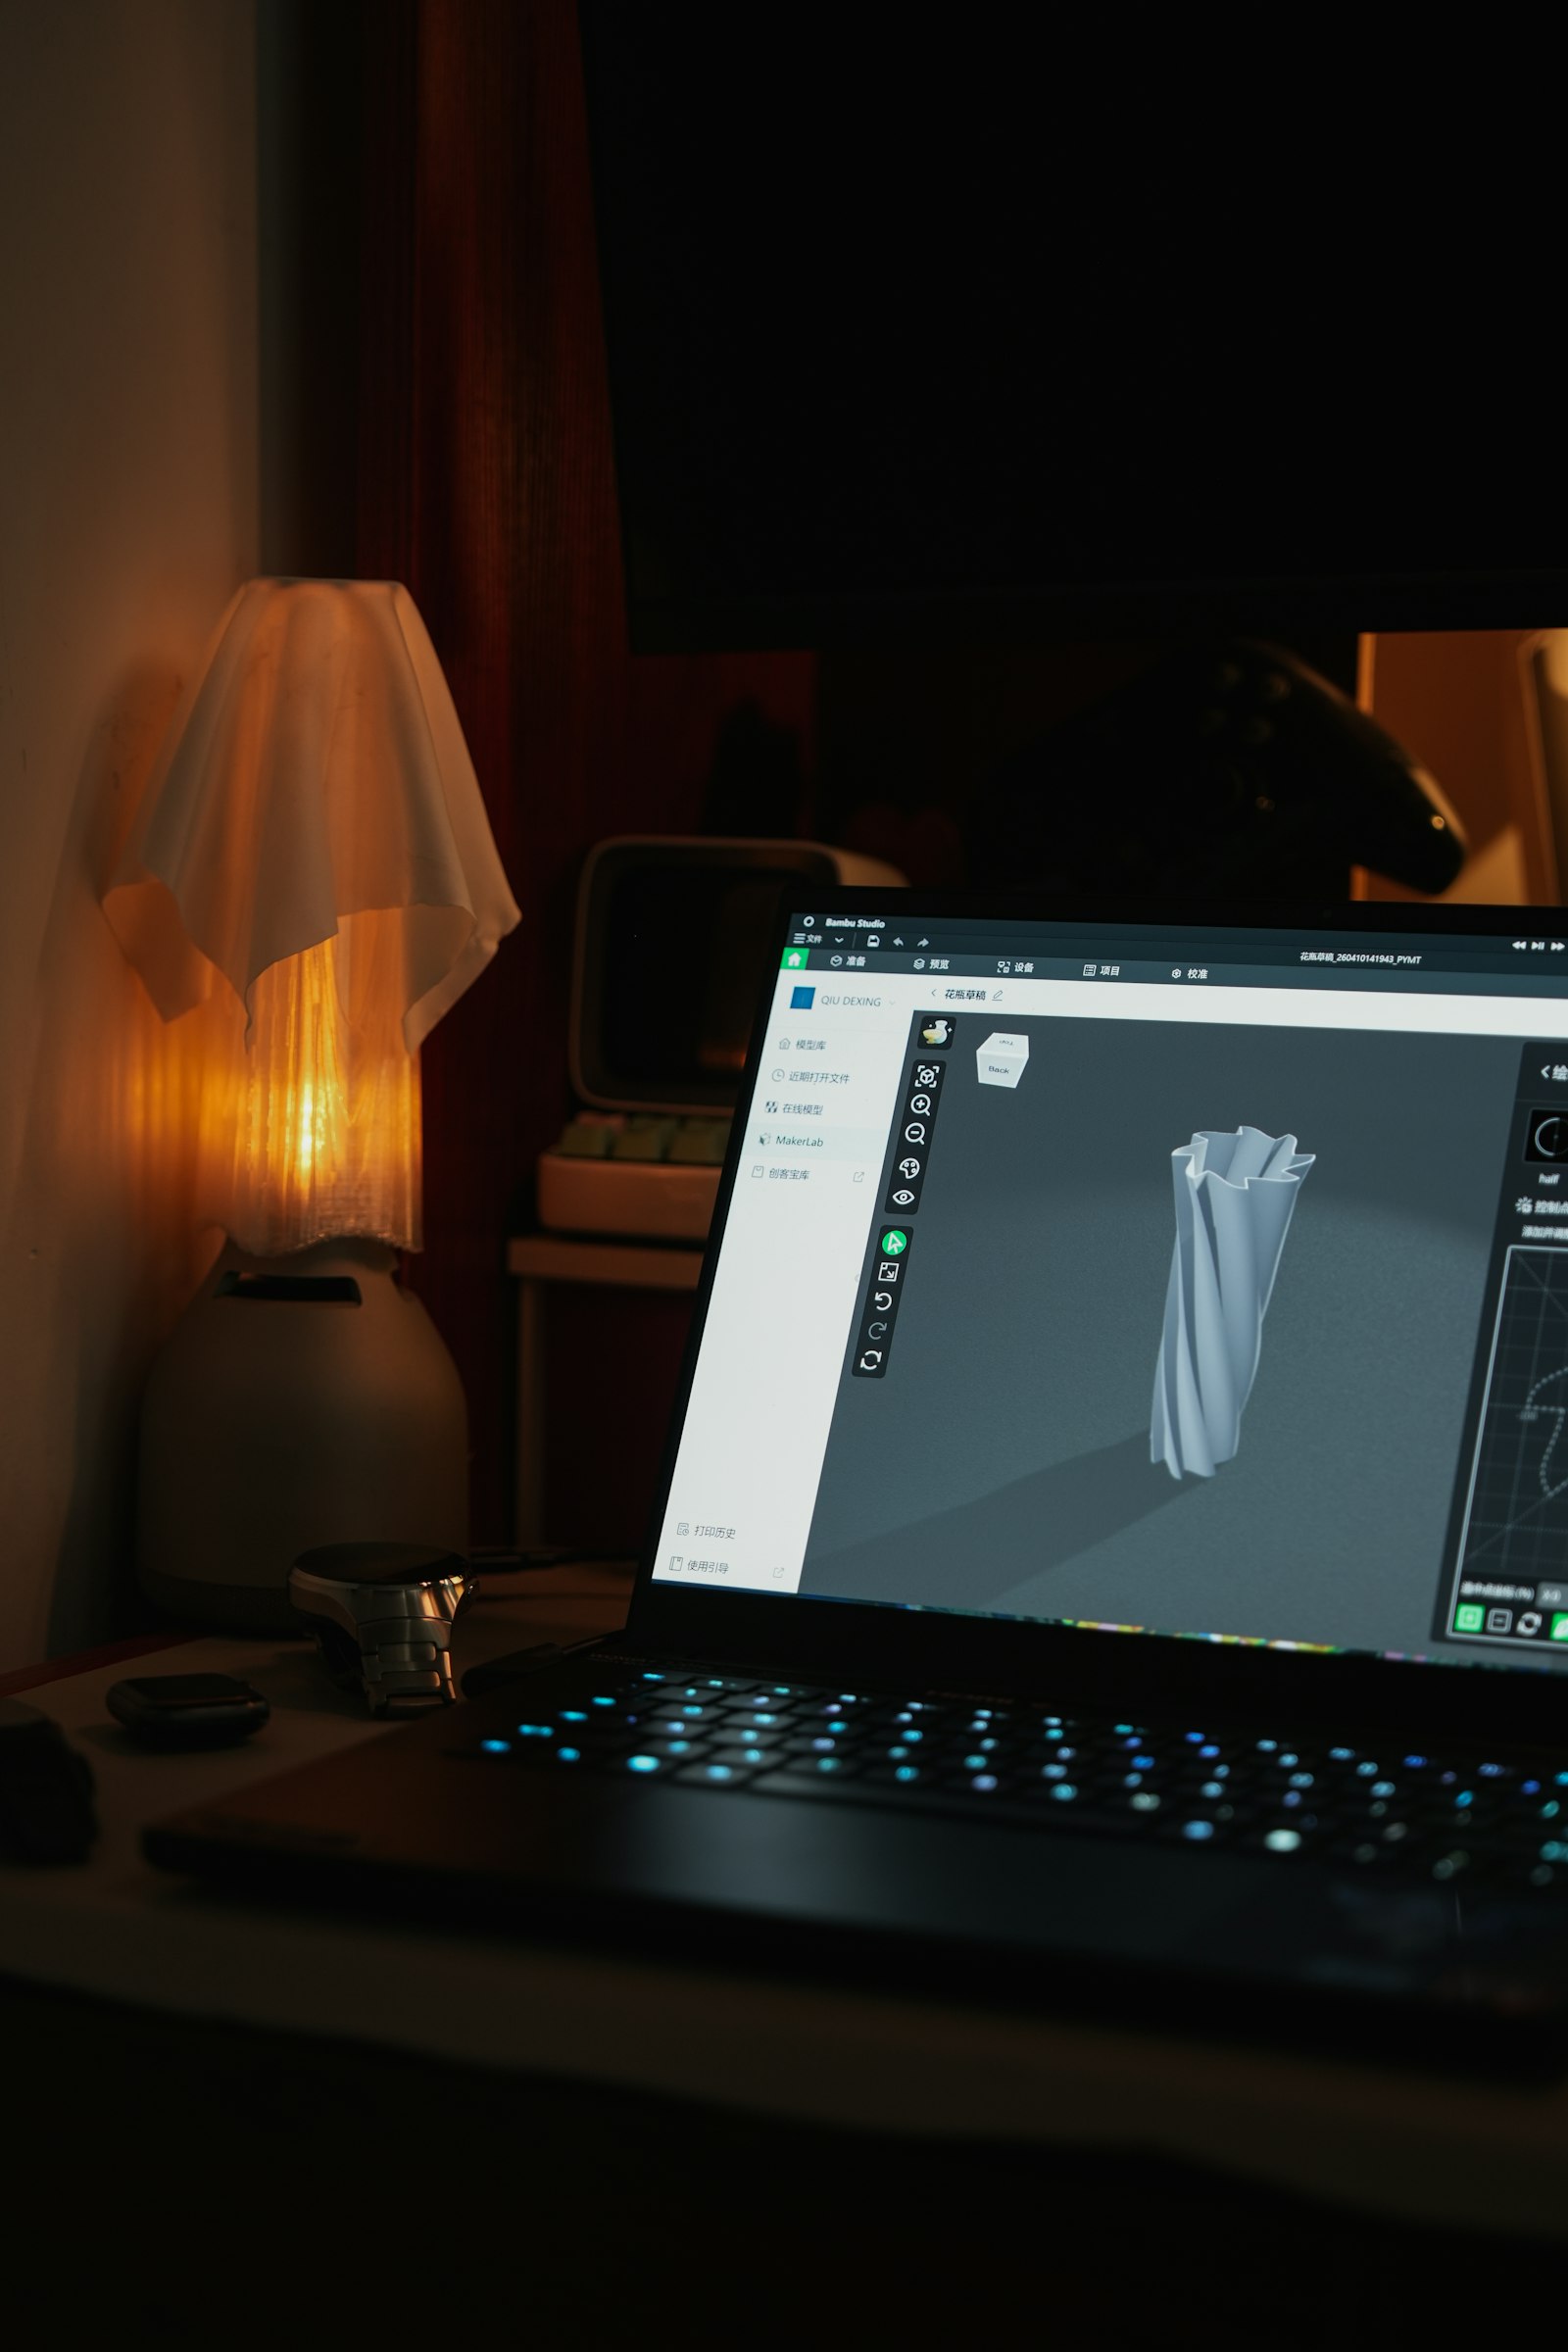
3D character rigging turns a finished model into a controllable character that can be posed, animated, and exported into a game engine. For a studio, “rigged” is not a complete acceptance criterion. The same file can look convincing in a digital content creation tool and still fail when the export skeleton, skin weights, or animation clips are tested in the target project. Start by writing down the playable actions and technical constraints, not by choosing a preset rig.
Ask what the character must do on screen: walk, climb, crouch, aim, emote, interact with props, or deliver close-up dialogue. A background NPC and a cinematic hero do not need identical face, hand, or deformation systems. The camera distance and animation library also matter. A shared skeleton can reduce retargeting work across a roster, while a unique creature may need a custom hierarchy from the start.
The brief should state the target engine and version, source tool, coordinate and scale conventions, naming rules, export format, animation naming, and required source files. Add intended platforms and the agreed runtime budget. These values are project decisions; there is no universal joint count or skin-weight limit that fits every title. If the studio already has an approved skeleton, send it with a representative animation before work begins.
Mimic Gaming’s character design production guide covers the upstream decisions that shape this brief. Rigging succeeds when modeling, animation, technical art, and gameplay agree on a definition of “ready” that can be tested in the build.
Plan the skeleton around movement and reuse

Skeleton design is where a character’s proportions meet the animation system. Define the root, pelvis, spine, limbs, fingers, facial joints, and any accessory bones that the project requires. Agree on a neutral reference pose and make sure bone orientation and naming remain consistent with the target pipeline. Small inconsistencies can become expensive when dozens of clips must be retargeted or shared.
Decide whether this character should use an existing skeleton, a compatible variant, or a new one. Reuse is attractive for a large cast, but it can fail when limb proportions or unusual anatomy demand different motion. A creature with extra legs, wings, or a long tail may need more than a humanoid template. Write down which animations must transfer and which can be authored specifically for this character.
Separate animator-facing controls from the skeleton that will be exported. An animator may use inverse kinematics, constraints, custom handles, and helpful automation to pose efficiently. The engine import usually depends on the exported mesh, bones, skin weights, and animation data. That distinction should be explicit in the handoff so a teammate does not mistake a control rig scene for the runtime asset.
Epic’s official Skeleton documentation describes how an imported skinned character becomes a Skeleton asset in Unreal Engine and how animations can be shared or retargeted. Mimic Gaming’s technical art pipeline guide adds the wider production context: skeleton decisions have to survive asset checks, export, engine integration, and later revisions.
Test skinning where gameplay will expose problems

Skinning determines how the mesh deforms as bones move. A good bind pose is only the beginning. Test the character in the poses players will actually see: a deep crouch, a wide reach, a sharp twist, an overhead swing, or a close-up facial expression. Inspect silhouettes and problem areas such as shoulders, hips, knees, elbows, neck, and fingers. A deformation flaw that is invisible in a T-pose can become obvious during a fast combat animation.
Agree on representative test clips early, including the most demanding gameplay motion. Create a short review loop in which an animator, a character artist, and a technical artist can comment on the same version. Check whether clothing, hair, armor, weapons, and removable parts move predictably. If accessories are separate meshes or rely on attachment points, specify those sockets and their naming before final export.
Do not treat every deformation issue as a request for more bones. Weight painting, topology, corrective shapes, animation adjustments, and material or camera choices can each solve different problems. The best answer depends on the target hardware and visual importance of the character. A solution should be tested in-engine, not only in a high-quality offline viewport.
Mimic Gaming’s game asset optimization guide is a useful companion because the final character must work within a real-time asset budget. Set measurable acceptance checks: no visible skin tears in the agreed poses, correct attachment behavior, and approved visual quality at the camera distances the game uses.
Prepare for motion capture and retargeting
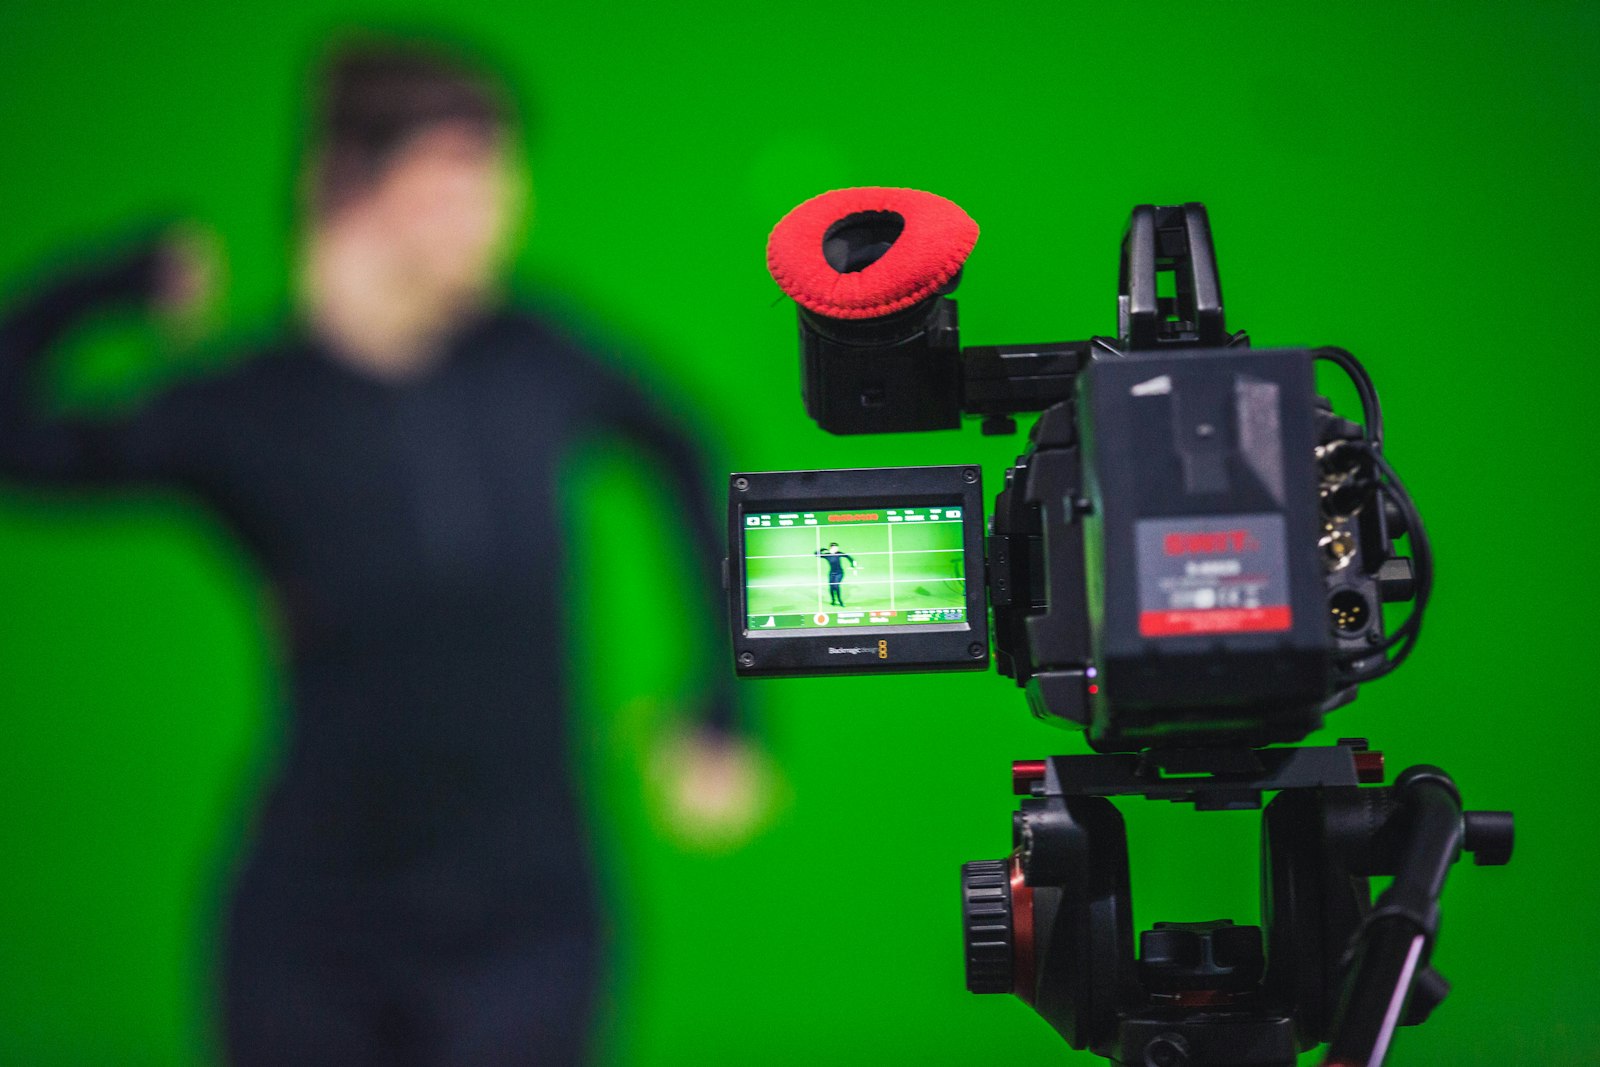
Motion capture and rigging should be planned together when recorded performances will drive the character. Capture data does not automatically solve proportion changes, foot contact, hand placement, or facial mapping. The team needs to know the source performer, the target character, the target skeleton, and the range of movement before recording or retargeting begins. A brief capture test can reveal problems while they are still inexpensive to fix.
Choose a small set of motions that represent the real game: locomotion, turns, starts and stops, attacks, interactions, and any high-value cinematic moment. Test the rig with those clips in the target engine. Look for sliding feet, shoulder collapse, weapon alignment, and contact drift. For facial work, confirm which expressions and phonemes matter, how the source is mapped, and what level of cleanup is included.
Preserve a clear chain between source data, cleaned animation, retargeted clip, and final engine asset. Document frame rate, file naming, takes, coordinate conversion, and where editorial changes were made. This is especially important when a supplier handles capture but another team owns animation polish or gameplay integration. Everyone should know which deliverable is approved and which remains a work-in-progress.
Mimic Gaming describes its body and facial motion capture, cleanup, and retargeting workflow on the tech page. Its motion capture partner guide and gameplay-versus-cinematic animation article help studios define responsibilities before a session is booked.
Validate the exported character inside the engine

An engine-ready claim should be demonstrated in the actual project or an agreed validation project. Import the mesh and skeleton, inspect scale and orientation, play the test animations, and compare the result with the source tool. Confirm materials, normals, physics assets, sockets, and any required facial or cloth setup. The exact checklist varies by engine and project, so write it into the statement of work.
For Unreal, a skinned FBX import creates a Skeletal Mesh and associated Skeleton asset. For Unity or a proprietary engine, the import and avatar setup may differ. The supplier should deliver to the agreed engine target rather than assuming that a file which opens cleanly in one tool will behave the same everywhere. Record any automated import settings and validation steps so the next character follows the same path.
Check animation transitions and runtime behavior, not just a single preview clip. Idle-to-run, turn-in-place, aiming, and interaction blends may expose deformation or root-motion issues. If the project uses level of detail variants or reduced bone influence at distance, test those too. Measure performance in the same conditions used for other characters in the build instead of relying on a workstation viewport.
Mimic Gaming’s real-time gameplay animation pipeline guide goes deeper into blending and runtime handoff. Its services page also describes custom characters prepared for Unreal, Unity, and proprietary engines. A strong delivery includes the source, the export, and evidence that the target build accepts both.
Write an acceptance checklist for the handoff

Before outsourcing 3D character rigging, define exactly what the vendor will hand over. A practical package includes the approved source scene, exported mesh and skeleton, agreed animation tests, textures or material references where relevant, and a short readme with tool versions and export settings. Include any custom scripts or plugins needed to reopen and revise the asset. Without these, a team can receive a working demo but lack the pieces needed to maintain the character.
Set review gates: skeleton sign-off, first deformation pass, representative animation test, engine import, and final acceptance. Attach one or two clear examples to each gate. Feedback should identify the pose, frame, camera angle, and expected result. A shared issue list is more efficient than scattered screenshots and messages. Agree who can approve a change that affects a shared skeleton or animation library.
Clarify ownership of later changes. If concept art, proportions, clothing, or combat design may still change, record how revisions will be priced and scheduled. Ask whether the vendor will fix issues found after engine integration and for how long. Also decide who maintains naming conventions, version history, and compatibility with future characters. These operational details protect the production schedule.
Mimic Gaming’s game art outsourcing brief gives a broader template for supplier selection and review. For rigging specifically, the best brief is a testable one: it describes the target platform, shared skeleton needs, animation set, source files, and sign-off process in language both artists and engineers can use.
Frequently Asked Questions
What is 3D character rigging for games?
It is the process of building a skeleton and control setup, binding a character mesh to it, and preparing that asset for animation and engine use. The exact rig depends on the character and production pipeline.
How is a game rig different from a cinematic rig?
A game rig must satisfy real-time engine, export, and runtime constraints. A cinematic rig can prioritize animator controls and offline deformation. Some projects maintain separate control and export setups.
Does every character need a unique skeleton?
No. Sharing a compatible skeleton can simplify animation reuse, but distinctive proportions or anatomy may justify a separate hierarchy. Decide from the planned animation set and engine workflow.
Can motion capture be applied to any rig?
Not without preparation. Retargeting depends on bone mapping, proportions, orientation, and cleanup. Test representative capture clips before committing to a large animation batch.
What is skin weighting?
Skin weights determine how much each bone influences parts of the character mesh. They are reviewed in movement poses because a static reference pose can hide deformation problems.
Which files should a rigging vendor deliver?
Ask for the agreed source scene, export-ready mesh and skeleton, test animations, version and export notes, and any scripts or dependencies needed to revise the asset.
When should the character be tested in Unreal or Unity?
As early as a representative skeleton and test animation exist, then again at each major delivery gate. Early import tests reveal scale, hierarchy, and deformation issues before final polish.
How should a studio judge whether a rig is finished?
Use agreed test clips and engine checks: correct import, approved deformation, functioning attachments, animation reuse where required, and complete maintainable source files.
Conclusion
3D character rigging is a bridge between character art, animation, and gameplay. The safest production path defines the target first, reviews deformations in demanding poses, proves mocap and animation compatibility when required, and signs off only after the asset works in the engine.
A clear brief also makes collaboration easier. It shows a partner what to build, gives reviewers a common checklist, and leaves the studio with source files it can maintain as the game changes. Start with one representative character and one demanding animation before scaling the workflow across a cast.
Explore Mimic Gaming’s custom character creation and technical art services, then talk to the team about a rigging brief for your project. Discuss your rigging brief with our team.
 September 28, 2026
 September 24, 2026
 September 22, 2026